

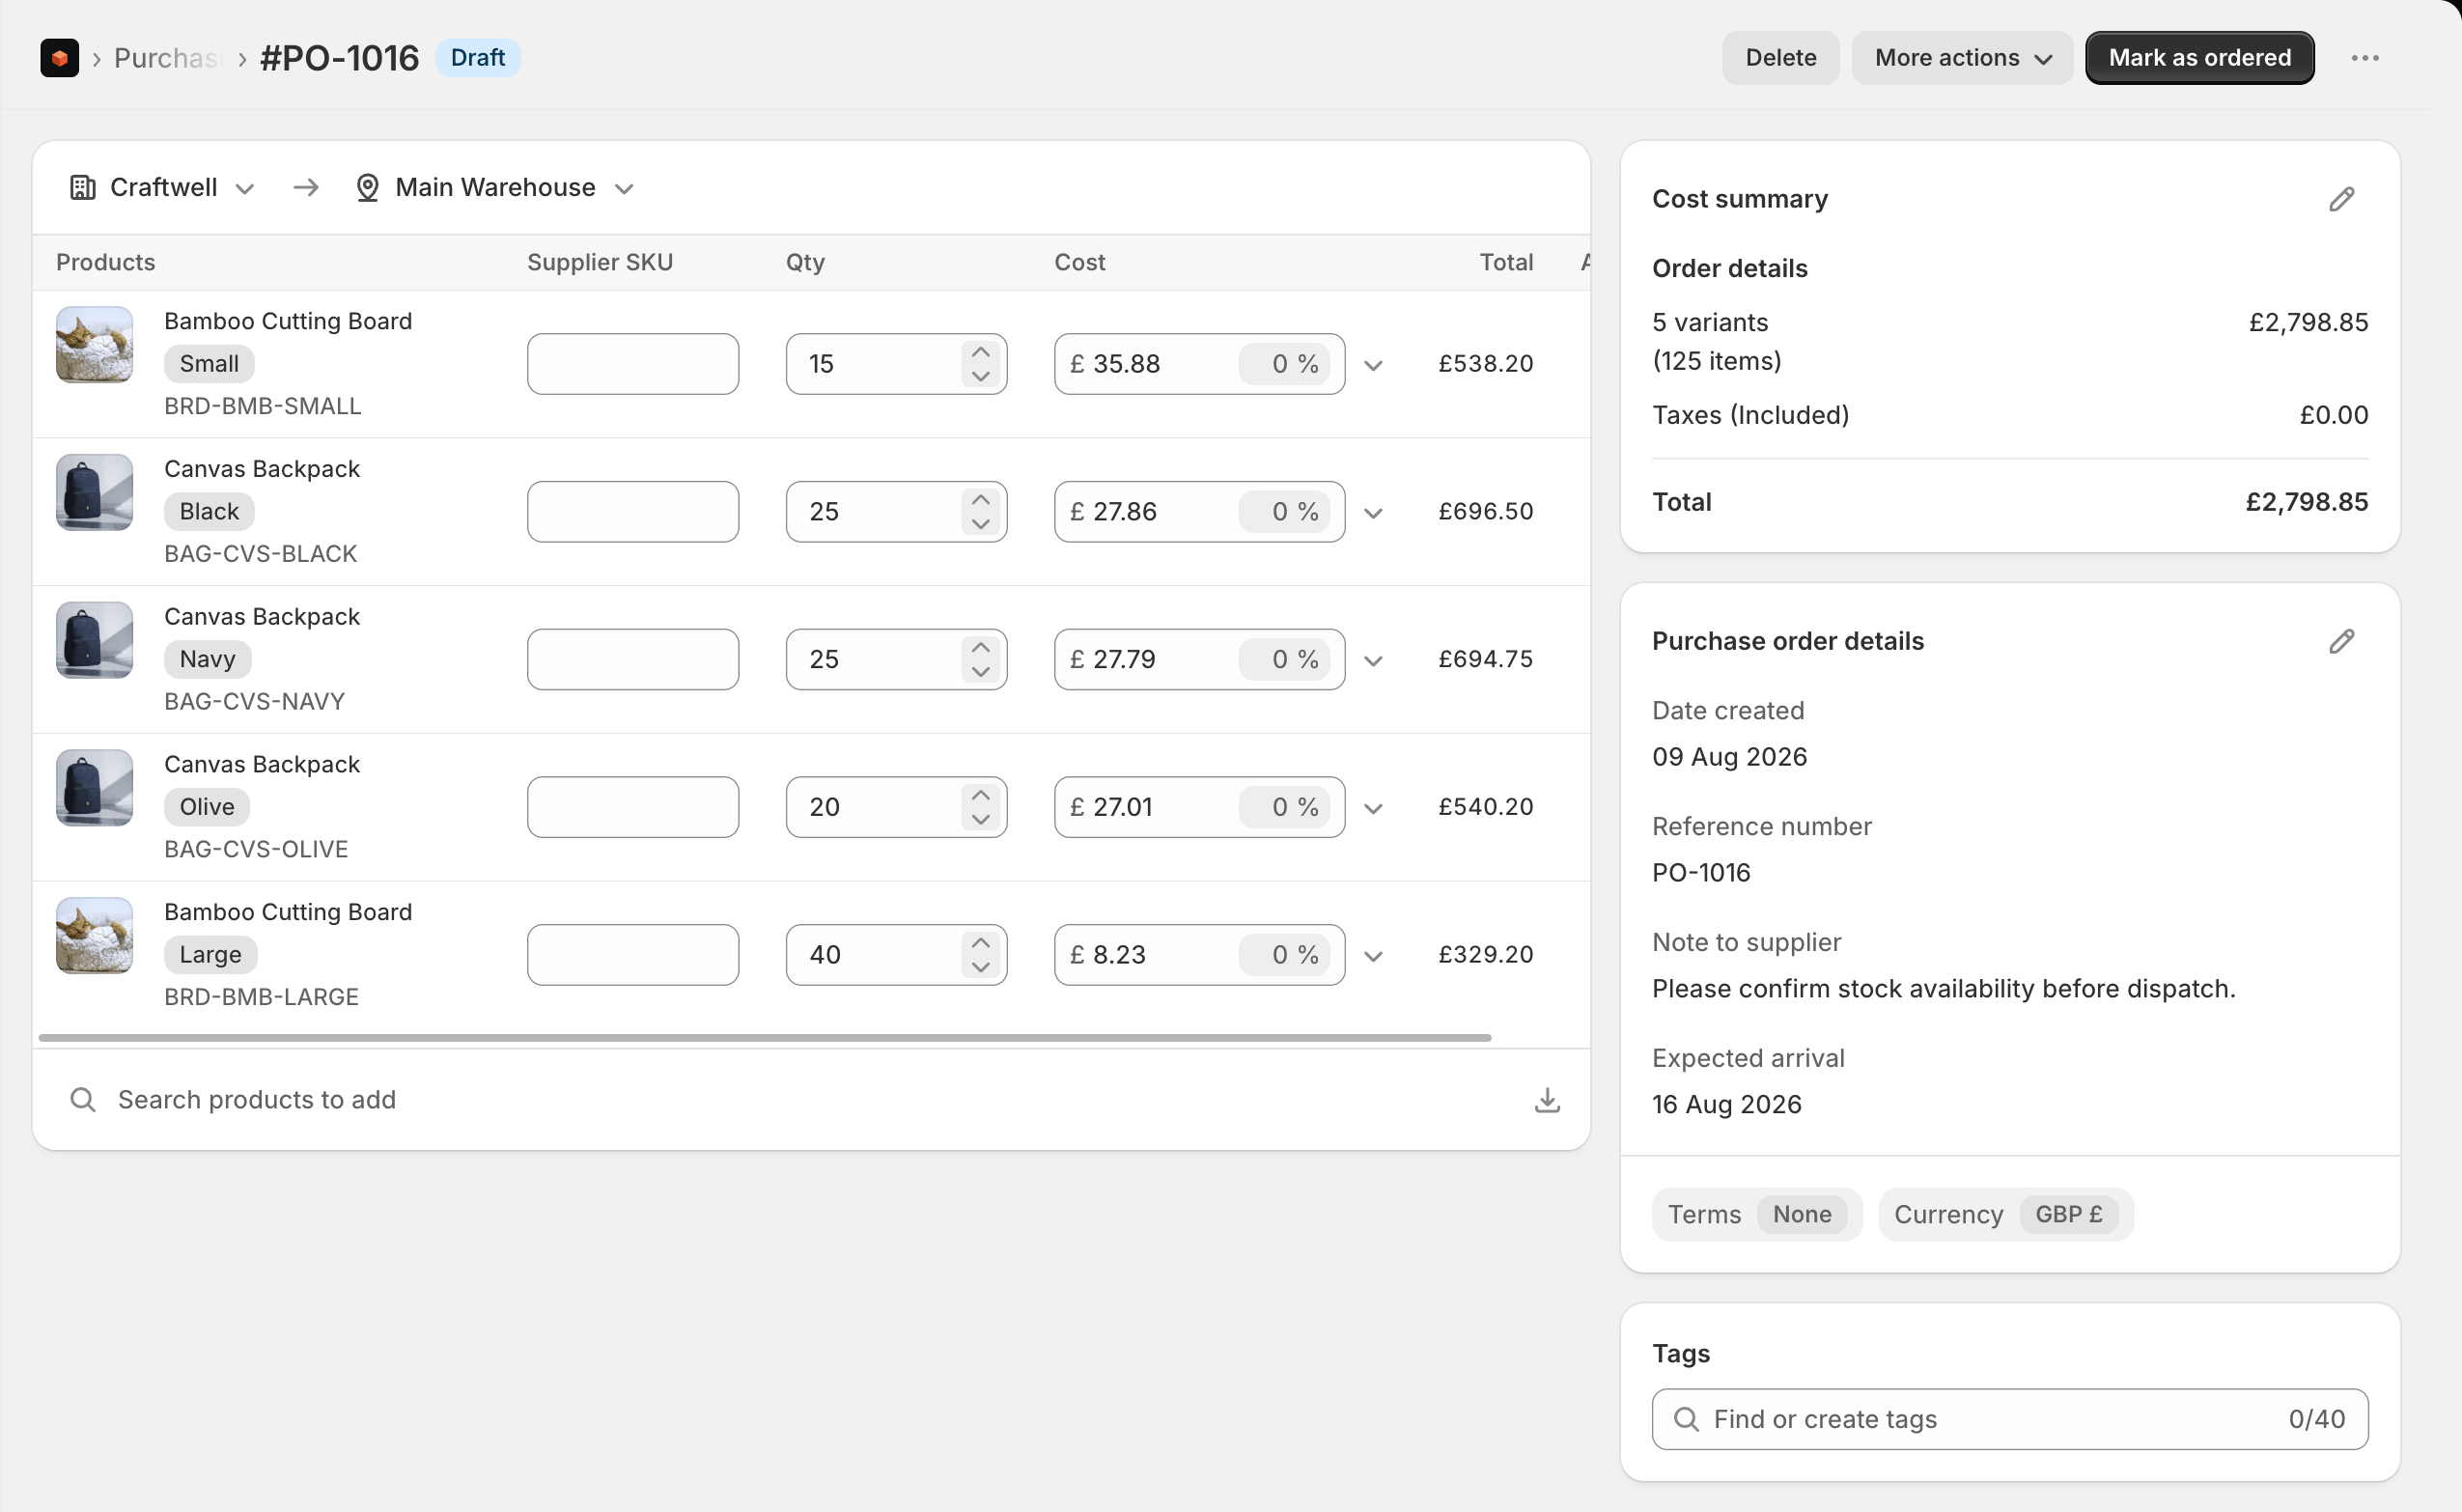
From a reorder recommendation
This is the quickest route. On the Reorder recommendations page, Stockful works out the quantities from velocity, lead time and safety stock. Pick the rows you want, choose Add to purchase order, and say where they go:- A new purchase order - the products are grouped by their primary supplier, one draft per supplier, with lines, quantities and costs pre-filled ready for you to review
- An order you already have open - the products go onto that draft with their recommended quantities. A product already on it has its quantity increased rather than appearing twice.
From a report
Use this when you are buying off sales history rather than off a reorder point - a seasonal order, or working through one vendor at a time. The Vendor Buying List report is built for it. Every product by vendor with what sold over the period you choose, what sold over the same stretch a year ago, what is on the shelf now, and what is already on its way to you. Filter it to a vendor, sort it by whatever you are buying on, and the four numbers you need are on one line. Every row on any report showing products at variant level carries an actions menu:- Add to purchase order - collects the row for an order. Nothing opens, so you can carry on down the list.
- View product on Shopify and View variant on Shopify - opens it in your Shopify admin. The variant link only appears on products that have real variants.
- How many - set the quantity for each product, with sold, sold last year, on hand and incoming still beside it so you are not working from memory. Anything left at zero is left off the order.
- Which purchase order - start a new one, or add the products to a draft you already have open.
The picker lists draft orders. An order you’ve already marked as ordered can still take new products - open it and use Edit on the items section.
From scratch
Click Create purchase order on the Purchase orders page. Then:- Choose a supplier - select an existing supplier or create one inline. The supplier sets the order’s currency and payment terms, and unlocks that supplier’s price list for costing.
- Set the destination - the location the stock will arrive at. You’ll need this before you can log a shipment.
- Add products (see below).
- Review the details and costs, then Save.
Adding products
Two ways to add line items:- Search products to add - opens a full-screen picker of your products, one row per SKU. Search by product name, SKU, barcode or vendor, tick what you want across as many pages as you like, and press Add. Products already on the order show as ticked and can’t be added twice.
- Import - upload a CSV with a SKU or barcode column, plus optional quantity and cost. Headings are detected automatically and a template is available in the dialog. After upload, each row is checked and flagged as Ready, Not found, Duplicate, Already added, No quantity, Not tracked, Excluded or Bundle, so you can fix or untick rows before adding the rest.
Narrowing the picker
The picker has the same filter chips as your inventory: every product filter, the stock figures, your metafields, and two of its own:- Location - starts set to the order’s destination when it has one, so the stock figures are for the place the goods are going. Clear it for totals across all your tracked locations, or pick other locations.
- Supplier - only products on a supplier’s price list.
Picker views
Save any combination of search, filters and sorting as a view, and it appears in the selector on the left of the picker’s search bar, on every device. Useful if you raise orders often: one view per supplier, or the products you top up every month. The location chip is not part of a view, so a view saved on one order follows the destination of the next.What the picker leaves out
A purchase order can only carry products you track, so the picker never offers products your exclusion rules exclude, bundles (their stock lives on their components), or variants whose Track quantity is switched off in Shopify. The same rule applies to the CSV import, which names those rows instead of dropping them, and to purchase orders raised by the AI assistant or an MCP connection. For each line you set the quantity and a cost. The cost source decides where the cost comes from:- Price list - the cost from this supplier’s price list.
- Cost per item - the cost set on the product itself.
- Custom cost - a one-off cost used for this order only.
Deciding how much to order
Ordering well means knowing what you already hold and how fast it’s moving, and the line table can show you both without leaving the order. Use the columns button at the end of the supplier bar.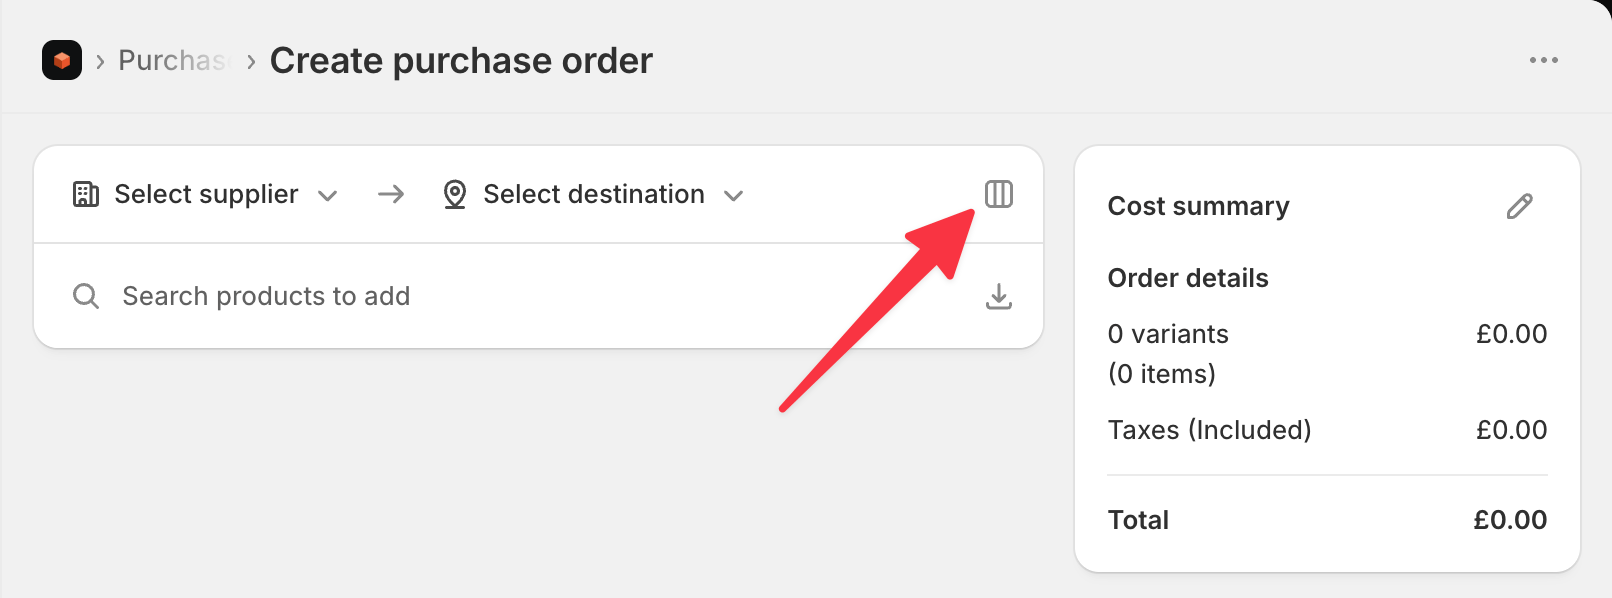
- Compact - the order summary sits alongside the lines, and extra columns scroll.
- Full width - the line table takes the whole page and the summary moves below it.
- Inventory - what’s available at the receiving location, across all your tracked locations, and how much is already on order. Shown by default.
- Days of stock - how long the stock at the receiving location lasts at its current rate.
- Suggested qty - what Stockful would order, the same figure as your reorder recommendations.
- Sold 30d / 60d / 90d - units sold over each period. A period reaching back further than your sales history shows a dash rather than an incomplete total, so a store that installed a month ago sees no 90-day figure until it has one.
- Sold (forecast period) - units sold over the period your forecasting reads demand from, set in forecasting settings.
- Retail price - the selling price, with the margin at this order’s cost.
Days of stock and the suggested quantity are per location, so they fill in once the order has a receiving location. Both come from the same figures behind your reorder recommendations, so a purchase order and the recommendations list never disagree.
Resizing the whole order
Suppliers set minimums that have nothing to do with your reorder points: a carriage-paid threshold, a pallet or container that only makes sense full, a weight band. Sometimes it is your own constraint rather than theirs, like the cash you have this week. Rather than retype every line to hit one of those, set a target and let Stockful size the order to it. On a draft order with a receiving location, open More actions and choose Resize order. Enter the days of supply you want the order to cover. Stockful works out what each line would need to be, and shows you:- what the quantity is now and what it would become
- how long each new quantity covers, counted from when the order arrives
- the order’s total units before and after
Why a line might not be listed
Only lines Stockful would change appear. A line is left out when:- there is no demand behind it at the receiving location, so there is no forecast to size it from. Products that have never sold there are the usual case
- the answer is none, either because the line is already covered to your target or because it is a product Stockful buys to order rather than to a forecast. Resize never takes a line down to zero: removing something from an order is your call, not something a bulk change does for you
- it already matches the target
The target applies to this order only. Your saved reorder settings are untouched, so an order placed to clear a supplier minimum does not change what Stockful recommends from then on. To change the target for every order, set restock to in forecasting settings or per supplier.
Order details
Open Purchase order details to set:- Reference number - assigned automatically (PO-1001), editable to match your own numbering.
- Note to supplier - free text that prints on the PDF and emailed order.
- Internal note - free text only your team sees. It prints on the receiving copy and never on the supplier’s.
- Expected arrival - the overall date you expect the order. Individual shipments carry their own arrival dates.
- Supplier currency and exchange rate - when the supplier’s currency differs from your store’s, Stockful fetches the day’s rate and converts totals to your currency. The rate is editable, or enter it manually if automatic rates aren’t configured.
- Tags - find or create tags to organise your orders.